The footage is only raw material. The wedding film is made in the edit — and a slow, disorganised edit is where margins and reputations quietly die. This is the full workflow on how to edit wedding videos from import to delivery, written for videographers who do this for a living.
Start before the timeline: organise and back up
Knowing how to edit wedding videos efficiently starts the moment the cards come out of the cameras, not when you open your editor. Offload every card to two physical locations — a working drive and a backup — before you touch a single clip. Mirror the folder structure every time: one folder per camera, plus separate folders for audio recorders, drone, and any second-shooter footage. Consistency here is what lets you build templates and move fast on the next wedding.
Rename and label as you ingest. A wedding can produce 500GB or more across multiple cameras, and an hour spent scrubbing unlabeled clips for the first-kiss angle is an hour you will never bill back. Get this foundation right and the rest of the process becomes repeatable instead of improvised.
How to edit wedding videos step by step
Here is the core sequence. Each stage feeds the next, so resist the temptation to color grade or sweeten audio before the story is locked — you will only redo it.
1. Sync and cull. Multicam-sync your angles to a clean audio reference (the officiant’s lav or the ceremony recorder is usually cleanest). Then watch everything once and mark selects. Be ruthless: most of the footage will not make the final film, and the discipline to cut early is what separates a tight 6-minute highlight from a bloated 20-minute slog nobody finishes watching.
2. Build the structure. Lay down a story spine before you fine-cut. A wedding film follows a natural arc — preparation, anticipation, ceremony, emotional peak, celebration. Drop your strongest moments onto the timeline as anchors and edit around them. Knowing how to edit wedding videos that hold attention is really about pacing the emotional beats, not chasing every pretty shot.
3. Rough cut to fine cut. Get a loose assembly that runs long, then tighten. Trim handles, kill dead air, and shape transitions so the cut breathes with the music rather than fighting it. This is the most time-intensive stage and the one clients judge you on.
4. Color, audio, titles. Only once the cut is locked do you grade, mix audio, and add titles or graphics. Locking the edit first prevents the rework loop that eats so many editors’ evenings.
Color grading wedding footage
Weddings are a colorist’s nightmare and a colorist’s playground at once: mixed lighting, tungsten-to-daylight shifts between the church and the reception, and skin tones that have to stay flattering across every one of them. Start with a primary correction to balance exposure and white balance shot to shot, then apply a consistent creative look on top. Match angles within the same scene first — nothing breaks immersion faster than a multicam cut where one camera is warm and the next is cold. Keep skin tones natural; stylised teal-and-orange grades that look great on a car commercial make a bride look ill.
Audio: the half of the film nobody mentions
Viewers forgive a soft shot. They will not forgive vows they cannot hear. Build your audio in layers — the synced lav or recorder for vows and speeches, ambient room tone to fill gaps, and a licensed music bed underneath. Level the dialogue so it sits above the music, automate the music down under speech, and bring it back up during montage sections. Clean, intentional audio is one of the clearest signals of a professional edit versus an amateur one.
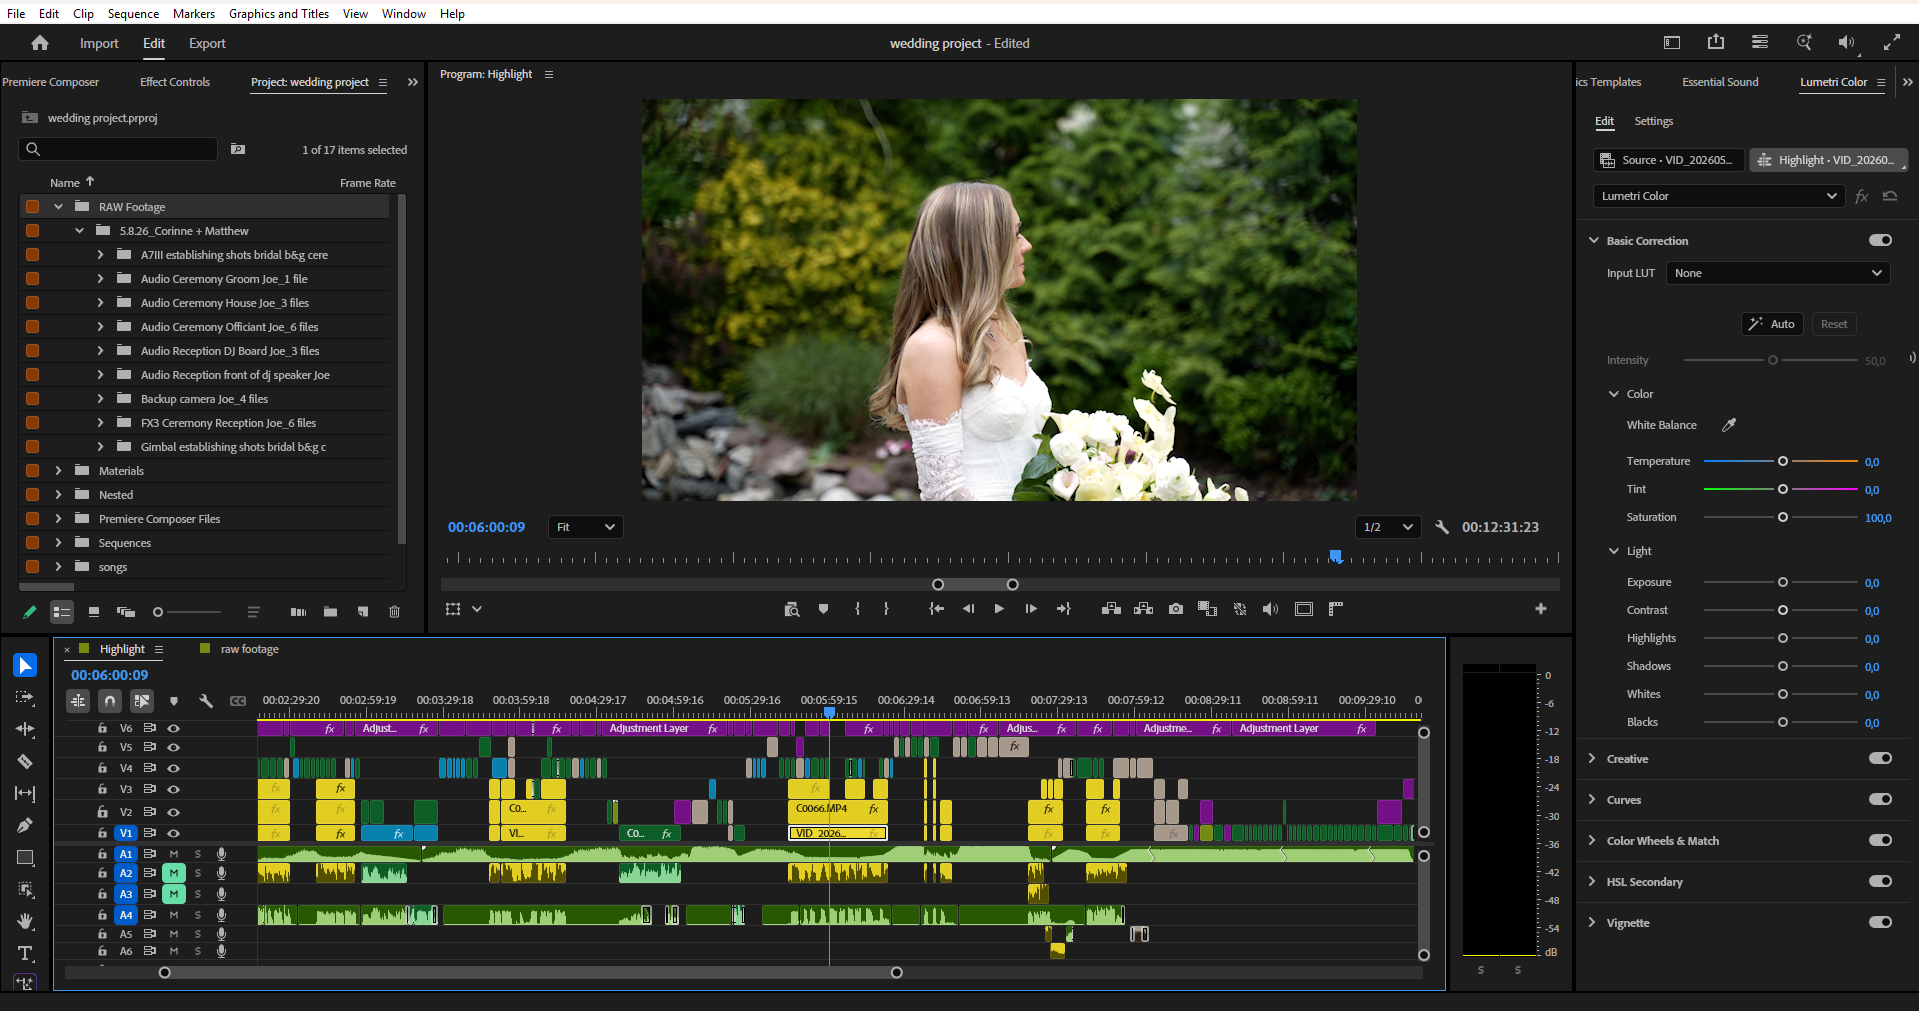
Choosing your editing software
The big three are Adobe Premiere Pro, DaVinci Resolve, and Final Cut Pro. Premiere is the industry default with the deepest plugin ecosystem; you can read about its feature set on the official Adobe Premiere Pro page. Resolve is the strongest all-in-one for editors who want best-in-class color built into the same app, and its free version is genuinely capable. Final Cut is the fastest on Apple silicon and a favourite of solo shooters who value speed. The honest answer is that the tool matters far less than your workflow — a disciplined editor on free Resolve will out-deliver a disorganised one on a fully kitted Premiere rig every time.
Build a workflow you can repeat
Profit in wedding editing comes from systems, not heroics. Save sequence presets, title templates, transition presets, and export settings as a reusable project template. Document your folder structure and your delivery specs so any editor on your team produces the same result. The goal is that the tenth wedding of the season takes the same hours as the first, not more — because by then the novelty has worn off and only the system keeps your quality consistent.
When to outsource the edit
There is a hard ceiling on how many weddings one person can shoot and edit alone, and it is lower than most videographers admit. Editing is where the hours pile up — a single film can swallow 15 to 30 hours — so when your shooting calendar fills, the edit is the first thing to delegate. Outsourcing lets you stay behind the camera, book more dates, and keep turnaround times short during peak season.
That is exactly what we do at Love Story Editing. You can hand off a single film through our wedding video editing service, scale across a season, and pick the package that fits the deliverable — a teaser edit, a ceremony edit, or a full wedding film. See the standard of work on our video portfolio, or request a quote when you are ready to free up your edit bay.
The takeaway
Master how to edit wedding videos and you control the single biggest variable in your business: the deliverable clients actually pay for. Organise first, lock the story before you polish, grade and mix with intent, and build a workflow repeatable enough to survive a full season. And when editing becomes the bottleneck rather than the craft, that is the signal to delegate it — so you can spend your time where the margin is, behind the camera.