
Most wedding video editing tips online are written for beginners — “add music, cut to the beat, done.” These ten are the habits that separate a film clients rave about from one they politely thank you for. They are the techniques working editors use on every wedding, and most of them cost nothing but discipline.
Wedding video editing tips that move the needle
Apply even half of these wedding video editing tips and your edits get tighter, your turnaround gets faster, and your films start to look like they came from a studio rather than a side hustle. Here is where to focus.
1. Lock the story before you touch color or audio
The most expensive mistake in editing is polishing footage that won’t survive the final cut. Build your story spine first — prep, anticipation, ceremony, emotional peak, celebration — and get the edit locked. Only then do you grade, mix, and add titles. Grading a sequence you later trim means doing the work twice, and that is where editors lose their evenings.
2. Cull ruthlessly before you start cutting
Watch everything once and mark your selects before you build anything. Most of what you shot will not make the film, and the willingness to throw away good-but-not-great footage is what produces a tight three-to-six-minute highlight instead of a bloated twenty-minute slog nobody finishes. Selects-first editing is faster and almost always better.
3. Cut to the music, not the music to the cut
Choose your track early and edit to its rhythm and emotional build. Land your hard cuts on the beat, save your biggest visual moment for the music’s peak, and let quiet passages breathe with longer holds. When the edit fights the music, viewers feel it even if they can’t name why.
4. Match color across cameras before you get creative
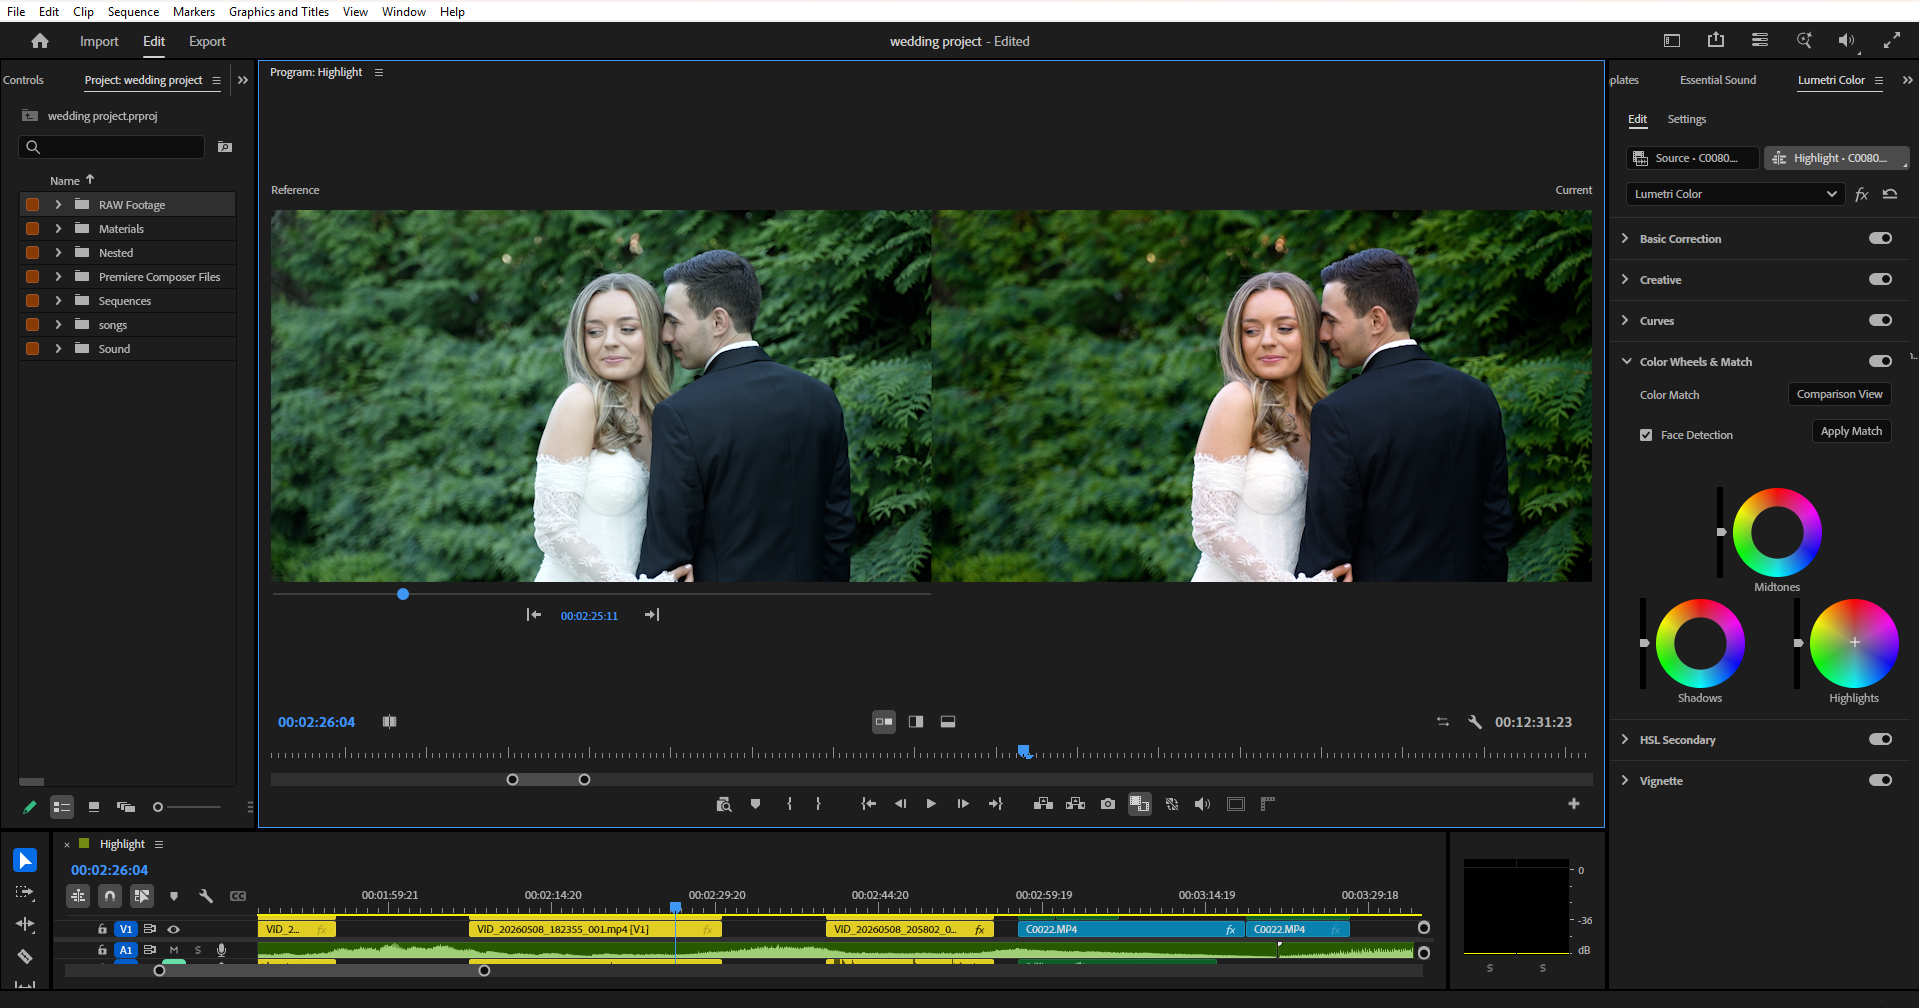
Before any stylised look, balance exposure and white balance shot to shot so a multicam cut doesn’t jump from warm to cold. Weddings are brutal for this — tungsten churches into daylight receptions — so primary correction first, creative grade second. A consistent base look reads as professional; mismatched angles read as amateur instantly.
5. Treat audio as half the film
Viewers forgive a soft shot; they will not forgive vows they can’t hear. Build audio in layers — the lav or recorder for vows and speeches, room tone to fill gaps, music underneath. Level dialogue above the bed, duck the music under speech, and bring it back for montage sections. Clean audio is one of the clearest markers of a professional edit.
6. Use B-roll to bridge, breathe, and hide cuts
Detail shots — rings, hands, decor, reactions — are not filler. They cover jump cuts, compress time, and give the emotional moments room to land. A film that cuts only between main angles feels relentless; one that breathes with well-placed B-roll feels cinematic. Shoot more of it than you think you need, and lean on it in the edit.
7. Keep transitions invisible and motivated
The best transition is usually a clean cut. Reach for whip pans, dissolves, or speed ramps only when the footage motivates them — a pan that matches direction, a dissolve that signals a time jump. Flashy transitions for their own sake date a film fast and pull attention away from the couple, which is the opposite of the job.
8. Build templates and presets you reuse every time
Save your title styles, transition presets, export settings, and project structure as a reusable template. The tenth wedding of the season should take the same hours as the first, not more. Systemising the repeatable parts frees your attention for the creative decisions that actually differentiate the film, and it keeps quality consistent when you’re tired.
9. Grade for skin tones, not for trends
Trendy teal-and-orange looks great on a car ad and makes a bride look ill. Protect natural skin tones above all else, keep whites clean (that dress is the centerpiece), and apply your creative look around those constraints rather than over them. A flattering, timeless grade ages far better than whatever LUT is fashionable this year.
10. Nail delivery format and back everything up
Export to the spec the couple and platforms actually need — H.264 or H.265 at the right resolution and bitrate for web, plus a higher-quality master for archive. Keep the project and footage backed up in two places until final sign-off and beyond. A re-export request three months later is routine; losing the project to a dead drive is a reputation problem.
When better technique isn’t enough — it’s time
These wedding video editing tips improve quality, but they don’t add hours to your day. A single film can take 15 to 30 hours to edit well, and during peak season that math stops working — every hour in the edit bay is an hour you’re not shooting or booking. That’s the point where the smart move isn’t a better technique, it’s handing the edit off.
At Love Story Editing we apply every one of these techniques as standard, so you keep the quality without the hours. Outsource a single film through our wedding video editing service and choose the package that fits — a teaser edit, a ceremony edit, or a full wedding film. See the work on our video portfolio, or request a quote.
The takeaway
None of these wedding video editing tips require new gear or new software — they require discipline and a repeatable process. Lock the story first, cull hard, respect the audio, protect skin tones, and systemise everything you do twice. Master those habits and the editing software you happen to use stops mattering. And when the hours outgrow the calendar, that’s the cue to delegate the edit and get back behind the camera, where the money is.
For a deeper look at the tooling behind these techniques, the DaVinci Resolve feature set is a useful reference — its color and audio pages line up closely with the workflow above.